
Melty beads (or Hama or Perler beads, if you want a particular brand) have long been a staple kids’ craft. You know the ones…. tiny little cylindrical beads that you arrange delicately into patterns on tiny pegboards, and then getting your mum to iron over the design until the plastic melts slightly and you end up with a slightly squashed, pixelated picture.
Unlike many 90s kids, I never really got into them as a kid – by which I mean, making designs and getting my mum to iron them. I did, however, LOVE mixing up the different bead colours and then spending hours and hours sorting them into each colour. It was an activity that could keep me entertained for ages. I found it weirdly therapeutic, to make order out of chaos. There’s probably some deep psychoanalysis there!
So when I spotted some melty beads on offer at my local Hobbycraft store, I couldn’t resist buying some – if only to relive my childhood enjoyment of sorting the colours!
I also took the opportunity to buy some large embroidery organisers with plenty of compartments for me to sort the beads into. These ones (also from Hobbycraft) were perfect as the dividers were removable, allowing me to create small and large compartments as required for each colour.


Once I’d sorted to my heart’s content, the next task was to start making…
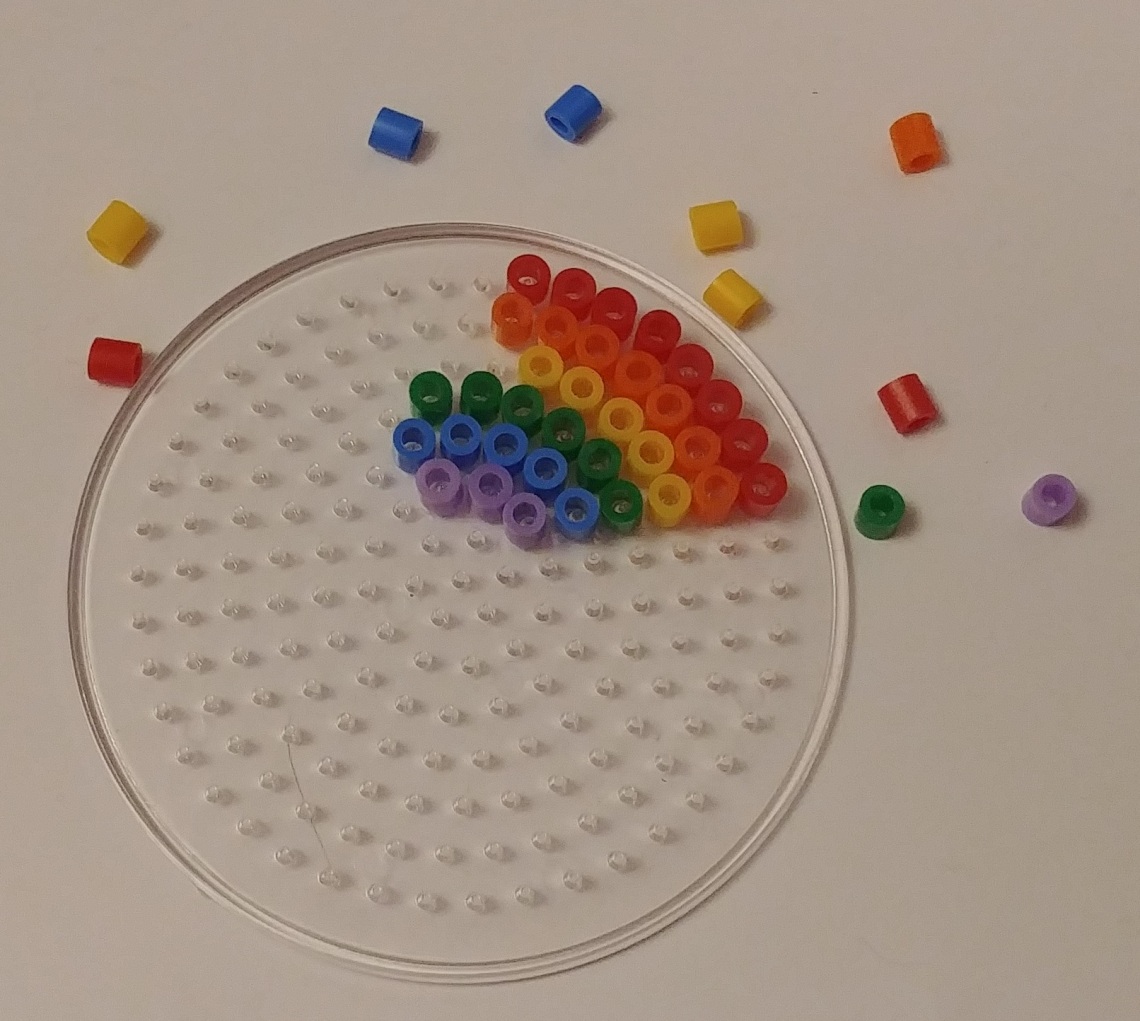
My first project was to design and make some rainbow earrings. I had also bought a small circular pegboard, so set about creating my first rainbows…
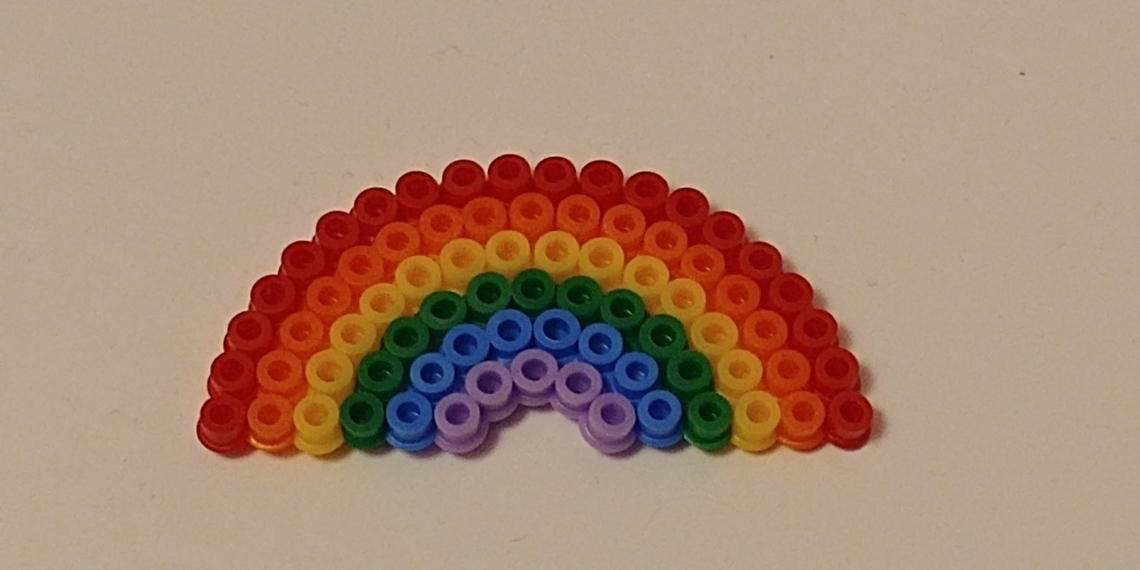
With the designs complete, the next stage was to iron them to melt the beads together. I tested a few, and decided I preferred the look of the ones ironed only on one side. When you iron both sides the beads tend to squash too much, particularly as the Perler brand I was using seemed to require quite a bit of heat and pressure to melt successfully.
Finally, it was time to add the silver earring attachments. This was a very fiddly process, requiring small pliers to first prise open the joining ring, carefully slide it through one of the beads, seal it up again, and attaching the earring itself. Since the design was only fixed on one side, I had to be extra careful to avoid accidentally snapping the rainbow in half.
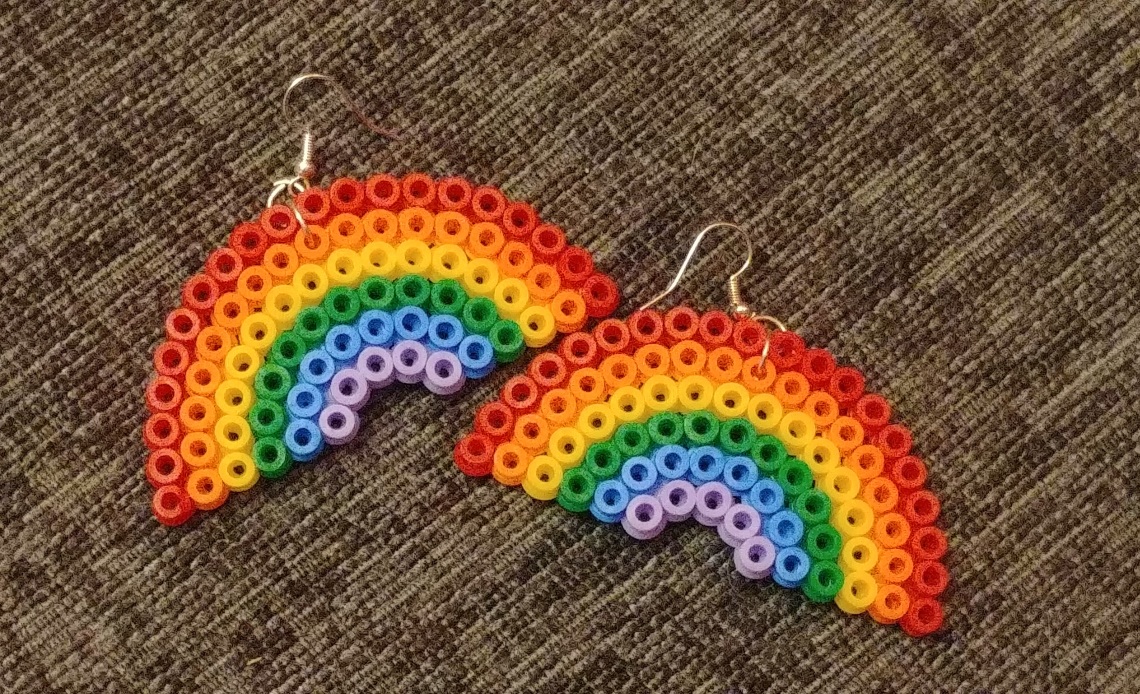
I’m super pleased with how these earrings turned out – they’re quirky, a little kitsch, and super cute. And who doesn’t love rainbows?!
You can find this item and more in my Etsy shop at https://www.etsy.com/shop/jeloudesigns/
