I was in Hobbycraft recently to do a glass fusing workshop (which you can read about here) and noticed a flyer for the 12 Makes of Christmas, new for 2017. One of the workshops involved was to make an advent calendar. I signed up right away to get my ticket!
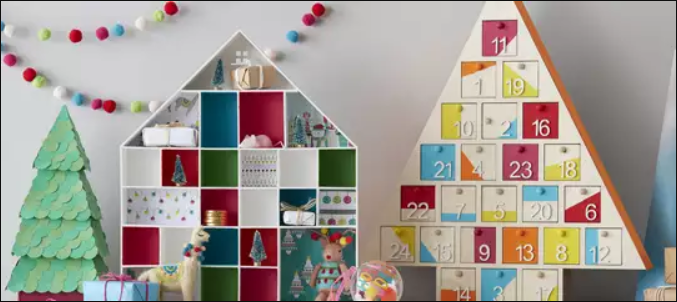
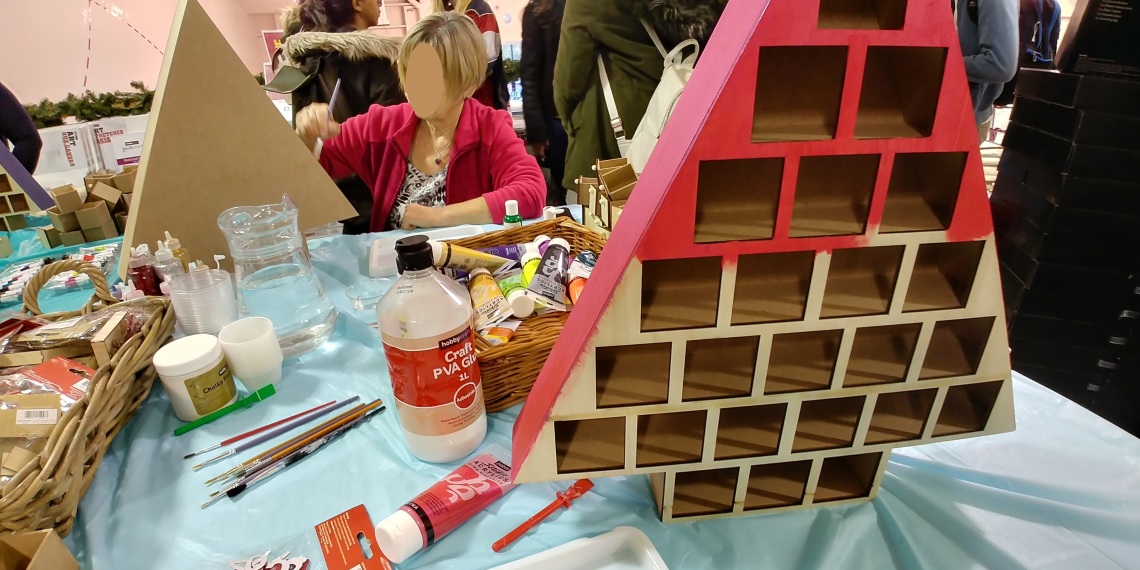
On Saturday 11 November, it was time for the advent calendar workshop! There were about 6 people attending, and we had a choice of two different advent calendar types – a wooden tree with drawers or a wooden dolls’ house style with open “rooms” inside which you could put your advent treats. Lots of different paints were provided, along with decorations to embellish our designs.
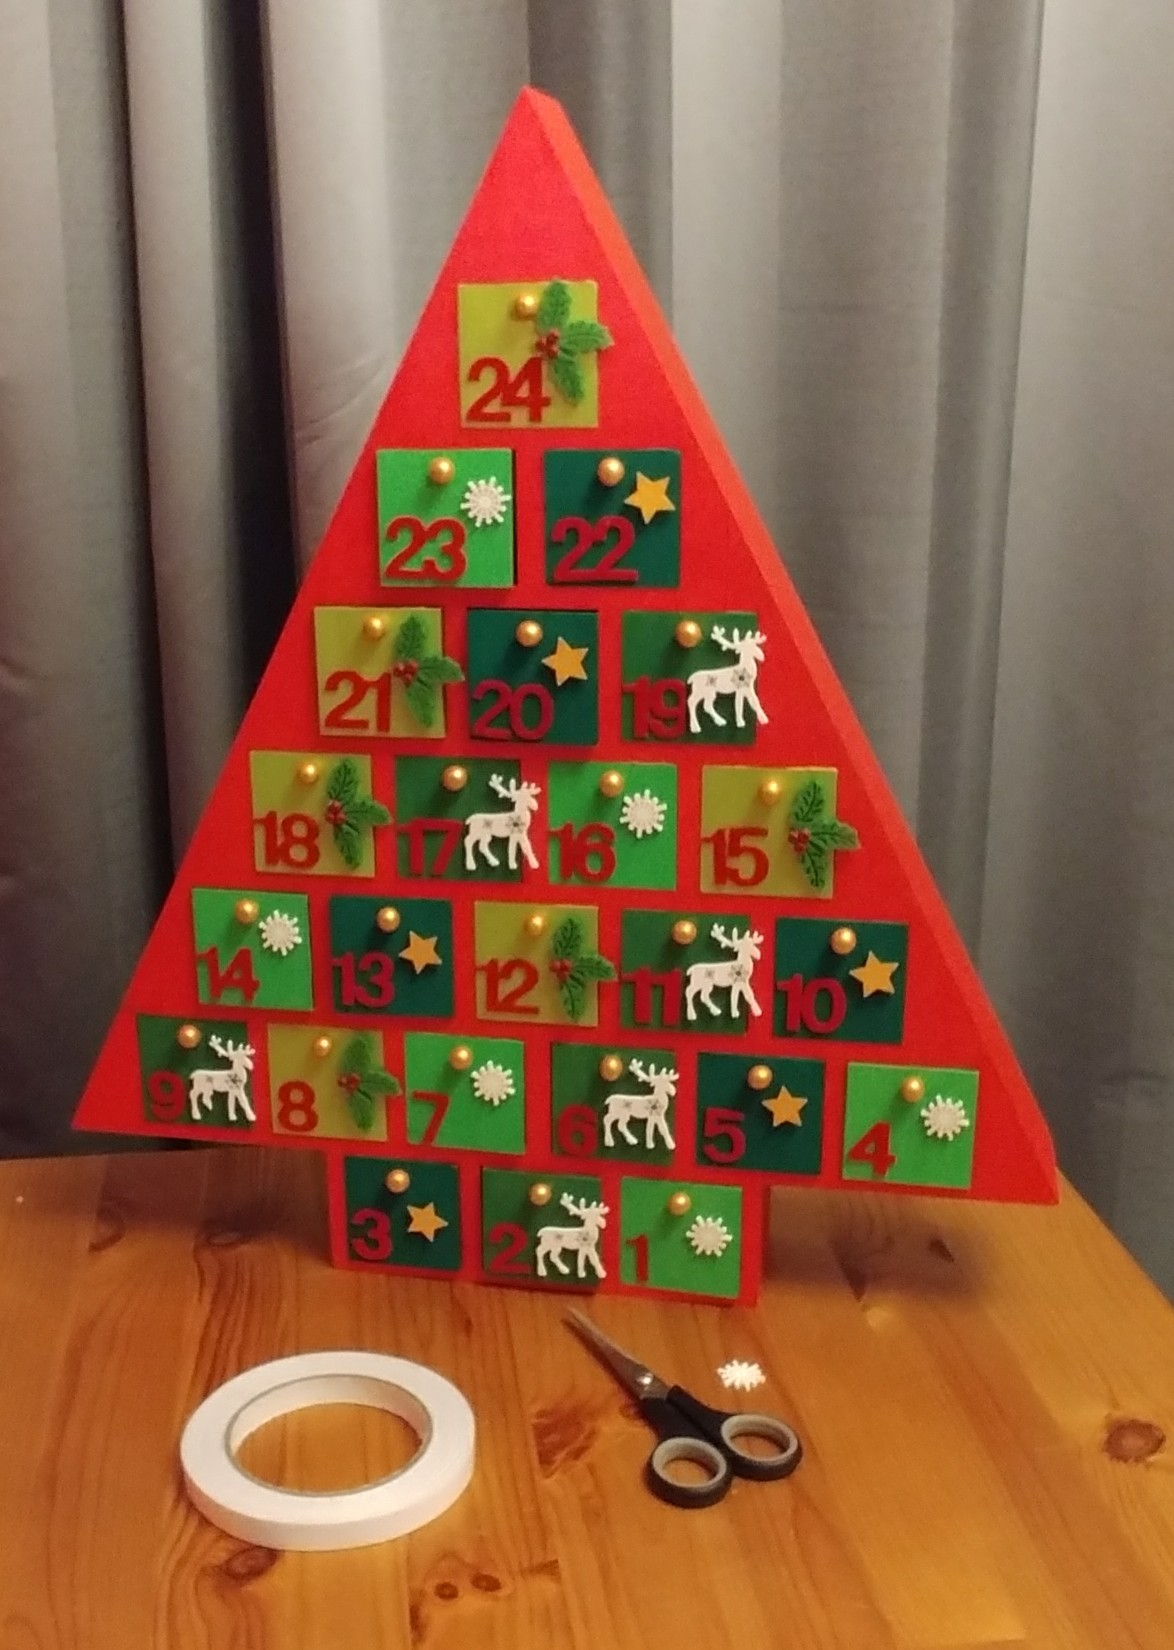
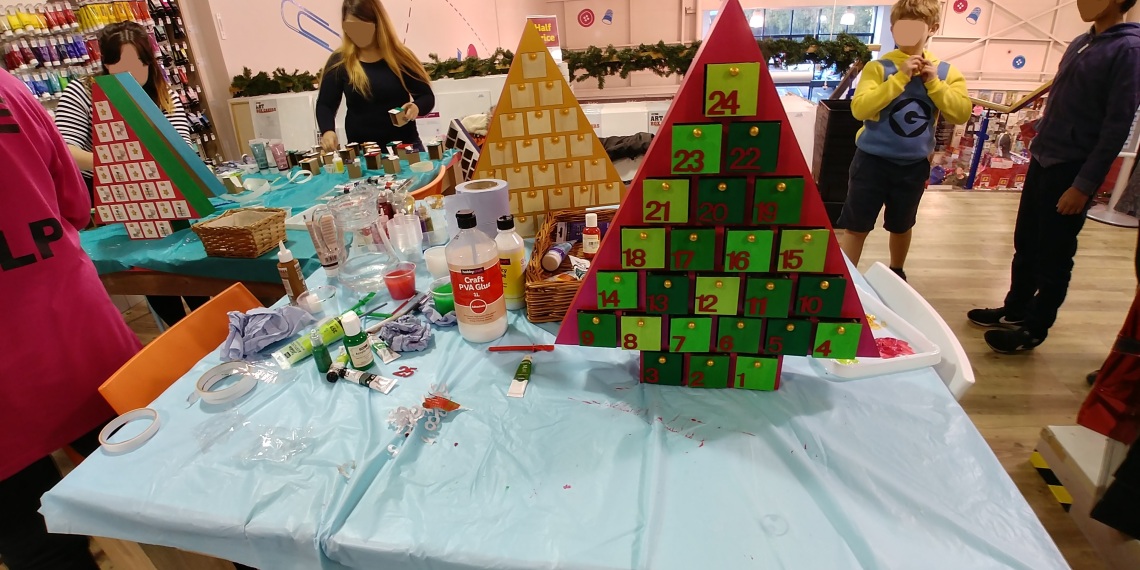
I opted to use a DYNA red paint to coat the sides of my tree – it had a lovely pearlescent effect to it, and was slightly pink than true red, which I thought would fit well in my living room!
Then it was on to painting the individual drawers… I chose a few different shades of green (including another of the DYNA pearlescent shades, a lime green) to make it feel festive! It took a long time to paint each of the drawers as they required 2-3 coats, and being very careful not to accidentally paint the handles as I wanted those to be gold!
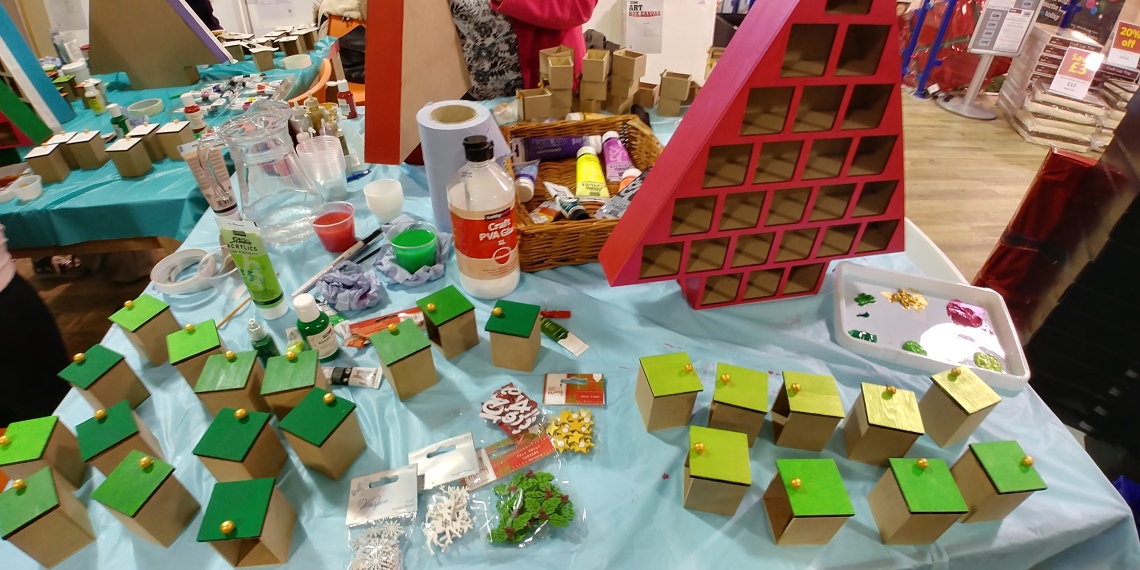
I had to wait for them all to dry, and then I could begin sticking on the numbers and decorations!
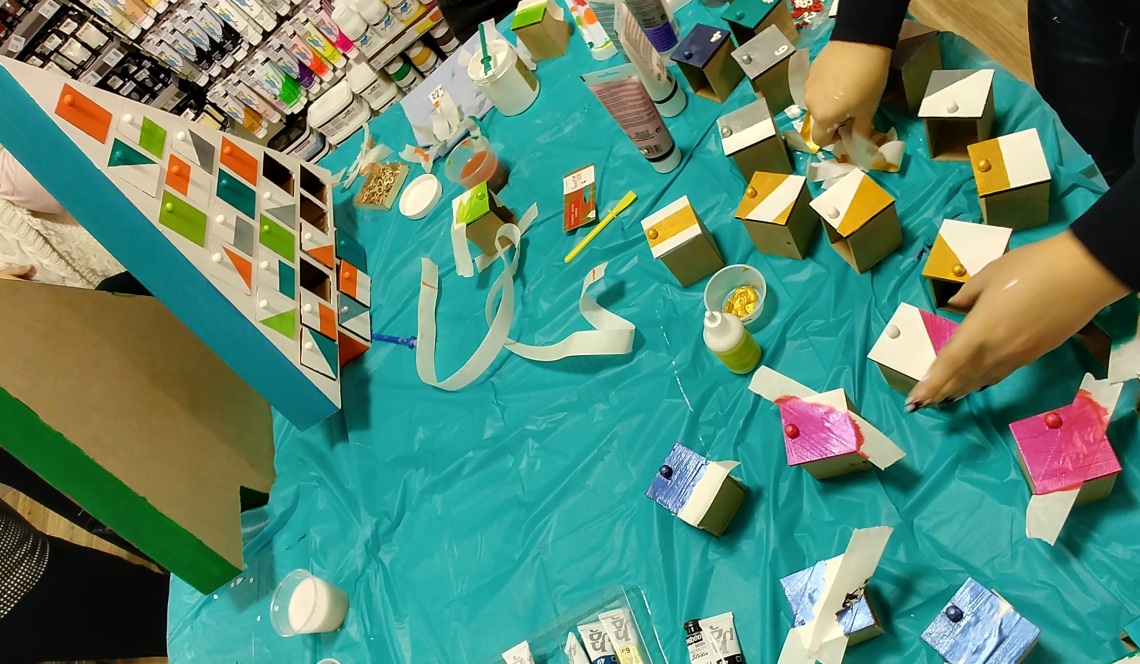
The lady opposite me had opted to only paint the sides and handles of her tree, as she intended to cover the drawers with leftover scraps of wrapping paper at home. I thought that was a great idea – though it was a shame not to see her finished calendar! Some of the other girls at the workshop had taken inspiration from the Hobbycraft demo and were using white backgrounds and then masking tape to paint coloured blocks on their drawers.
By this time, unfortunately our time had nearly run out – although the workshop was booked for 2 hours, there was a lot of painting and gluing that needed to be done. The next session started immediately after the first, so the Hobbycraft leader was obviously keen to get us finished and tidied up in good time so she could set up for the next group. She let us each take some of the embellishments so we could finish at home, which was good.
The workshop cost £10 for 2 hours and including all materials (including the wooden advent calendars, which are on sale at Hobbycraft for £15 each), so it was great value. Definitely if they run these workshops again I would sign up with no hesitation, but perhaps they could allow slightly longer (and a gap in between groups for tidying up!).

==== Summary ====
Suitable for beginners? Yes, no prior experience is necessary. If you can glue or paint, you can make an advent calendar!
Minimum age? Recommend 7+ due to small parts, though smaller children can probably help!
Accessibility? Some parts can be tricky (e.g. the small handles on the drawers, or corners of the rooms).
Fun factor? 10/10 – a super easy craft that is very effective and pretty inexpensive.
===== Shopping list =====
- Wooden advent calendars from Hobbycraft
- Acrylic paints from Hobbycraft (or leftover scraps of Christmas paper)
- Paintbrushes from Hobbycraft
- Self-adhesive advent number packs from Hobbycraft
- Embellishment packs from Hobbycraft
- Glue or double-sided tape for sticking!
Disclaimer: This is not a sponsored post. I was not asked by Hobbycraft to write this post nor given any incentive from them in exchange for writing it – I paid for my own ticket, and it is purely a record of my own experience.
Links marked with * indicate affiliate links through which I make a small commission (pennies!) if someone clicks through to an item and makes a purchase. I only link to products I have used or would actually use. Links without a * are not affiliate links.

1 Comment